Once you have been practicing the basics of night photography, you can begin to put more attention on the artistic side of your compositions.
Light is the most important part of any photograph.
This concept still applies in night photography, but it takes on a larger significance because you typically have very little of it to work with AND you may have different light sources.
Here are a few tips to help you utilize light in your night photography.
Watch the corners.
You want light everywhere to some degree. If your outer edges or corners are completely black, you may need to increase your exposure or look for creative ways to add light to that area (more tips to come on the latter option).
Recognize multiple light sources.
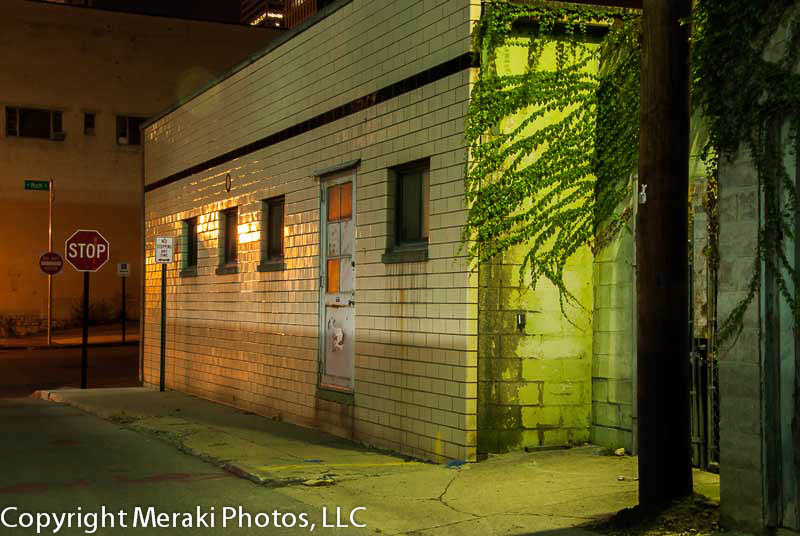
Especially in city scenes, you can get multiple light sources that may enhance or detract from the image you are trying to create.
Different types of light (e.g. incandescent, HID, mercury vapor, sodium vapor, fluorescent) have different temperatures producing varying qualities of yellow, green, blue, and orange. This can create an exciting cityscape.
However, you may be going for a very specific mood in your image, and one errant light that is a different temperature from your main light source can make it difficult to capture the scene the way you see it. If this is the case, consider framing the scene differently to avoid that other light source. A lens hood can also help. I don’t usually carry lens hoods, so I often use my hand or the lens cap to block out any extra light filtering in from the side.
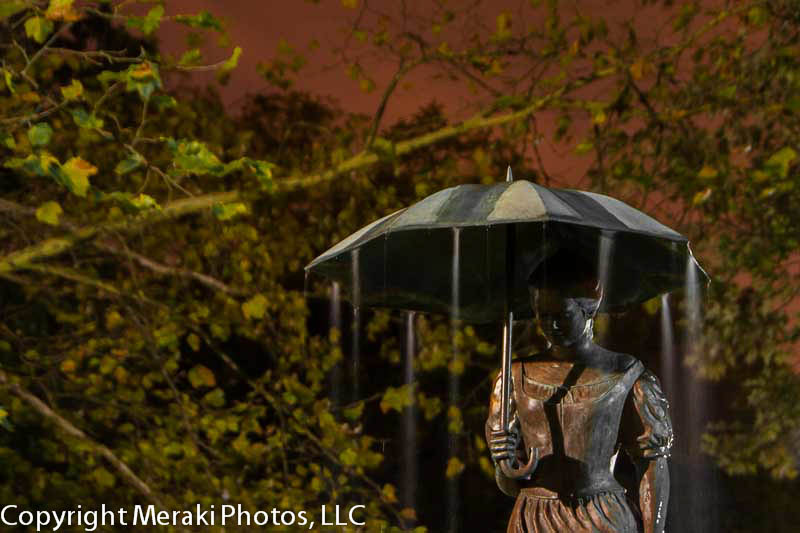
Moisture in the air carries light.
This can create cool shadows and add moodiness to an image. Just be sure to check your image in-camera and adjust the exposure as needed.
If you are shooting an image on a foggy night, remember that fog acts like a giant diffuser and adds light. This effect is even stronger when there is a full moon. Once again, check your exposure in-camera and adjust your exposure settings as needed.
Color is the most influential part of any photograph.
This was a new concept for me, and it took a while to wrap my head around it. Color in night photography has a huge impact on how a person reacts to an image.
Experiment with white balance settings.
Of course you do this in post-production (especially if you are shooting in RAW), but it is a great learning experience to do it at the time you shoot.
Remember how we talked about different types of light in a previous post? White balance helps you “correct” for the light source, however. But you don’t always have to use the “right” white balance. This is also an artistic decision.
Shoot the same scene using all of your white balance settings, and look at each image on the back of your camera as you do this. You will start to learn about different types of light and white balance settings, but most importantly you will start to see how color changes your image.
Play with color in post-production.
It is hard to see color in the night until you start playing around with it.
Use your photo editing tool of choice to play with the color in your image. You may not even realize those purples, blues, oranges, reds, etc. are there until you start to exaggerate them a little. Start with your temperature and tint. Then try vibrance and saturation.
Note that one of my biggest challenges when I first started was that my photos were underexposed. If the image is dark, it is very difficult to see color in the images. So you may need to fix the exposure first in your photo editing tool.
Once you start to play around with color, it is easy to see how color affects the final image. And you will be able to look for color when you are out shooting, and create more interesting and unique images.
The more you practice, the more you will see color and know how to use it.
Have you been practicing? If so, include a link to your photo.


Agree! It takes time to master the art of light in photography. Nice tips! I personally feel that it’s wise to stick to mild sunlight for outdoor pictures.
Renuka recently posted..Hyderabad-Bangalore Road Trip – A Photo Essay
This is good advice! I’m still trying to learn how to get my night photography settings right. Unfortunately, I didn’t master the art quite well enough in time for seeing the Northern Lights in Iceland on a recent trip :/
AJ @TheBlondeTravels recently posted..Reykjavik the Weird, the Wonderful
As much as I would love to photograph the Northern Lights, I would definitely be nervous about getting it right.
The Travel Chica recently posted..Photography 101: 7 must-know tips for shooting at night
Thank you for the advice. I’m still learning to master the technique.
Car Rental Kuala Lumpur recently posted..Car Rental Kuala Lumpur (KL), Malaysia
Thank you so much for this! Night photography is always something I have struggled with.
Michael Huxley recently posted..A photo for Facebook? You’ve just ‘Liked’ animal abuse.
Good tips, Stephanie.
Sophie recently posted..Bewitching Kotor Bay
Really good tips! Night photography is a little more interesting sometimes, and fog and moisture really add to it. Thanks for sharing!
Mary @ Green Global Travel recently posted..TAHITI: Swimming With Sharks in Bora Bora